


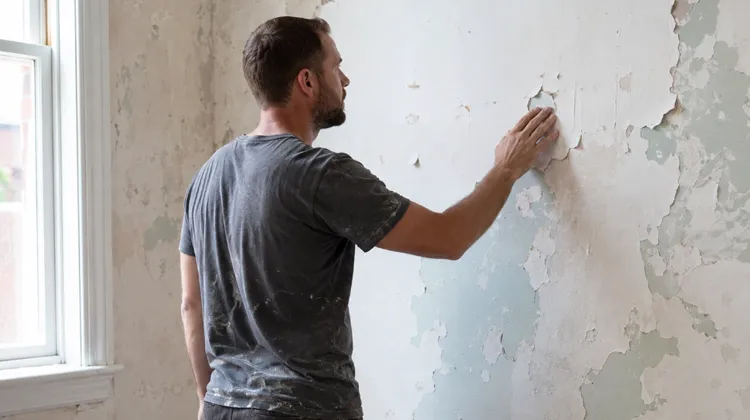
Wall putty is an important material used to create a smooth and durable surface before painting. For old painted walls with cracks, uneven areas, or damaged paint layers, applying wall putty correctly can help restore the surface and improve the final painting effect.
In this guide, we will explain how to apply wall putty on a painted wall, including surface preparation, application steps, drying requirements, and common mistakes to avoid.
Why Apply Wall Putty on a Painted Wall?
What Is Wall Putty?
Wall putty is a fine powder-based construction material mainly used for leveling and repairing wall surfaces before painting. It is commonly made from white cement, calcium carbonate, mineral fillers, and other performance-enhancing additives.
It can be applied on different surfaces, including concrete walls, cement plaster walls, gypsum surfaces, and properly prepared painted walls.
The main purpose of wall putty is not only to make walls smoother but also to create a stronger foundation for paint application. A properly prepared putty layer helps improve paint adhesion, reduces surface defects, and provides a more attractive final finish.
Why Is Wall Putty Needed on Painted Walls?
Over time, painted walls may develop different problems due to aging, moisture, temperature changes, or daily use. Common issues include cracks, peeling paint, stains, and uneven surfaces.
Applying wall putty on a properly prepared painted wall can help repair these defects and create a more uniform surface. It also improves the bonding between the wall and the new paint layer, helping prevent problems such as uneven color and premature paint failure.
However, wall putty should not be applied directly over damaged or loose paint. Proper surface preparation is essential to achieve a long-lasting result.
How to Prepare a Painted Wall Before Applying Putty

Before starting the wall putty application process, the condition of the existing wall surface must be checked carefully.
Clean the Wall Surface
The first step is to remove dust, dirt, grease, and other contaminants from the wall.
A clean surface allows wall putty to bond properly with the existing wall. Use a mild cleaning solution and a sponge if necessary, then allow the wall to dry completely before applying putty.
Remove Loose Paint and Damaged Areas
Any peeling or unstable paint must be removed before applying wall putty.
A scraper, putty knife, or sandpaper can be used to remove weak paint layers. Applying putty over loose paint may cause cracking or peeling after the wall is finished.
Sand the Painted Surface
Some painted walls have a very smooth surface, which can reduce the bonding strength of wall putty.
Light sanding with medium-grit sandpaper can increase surface roughness and improve adhesion. After sanding, remove all dust before beginning the application process.
Step-by-Step Guide: How to Apply Wall Putty on a Painted Wall
Step 1: Prepare the Wall Putty Mixture
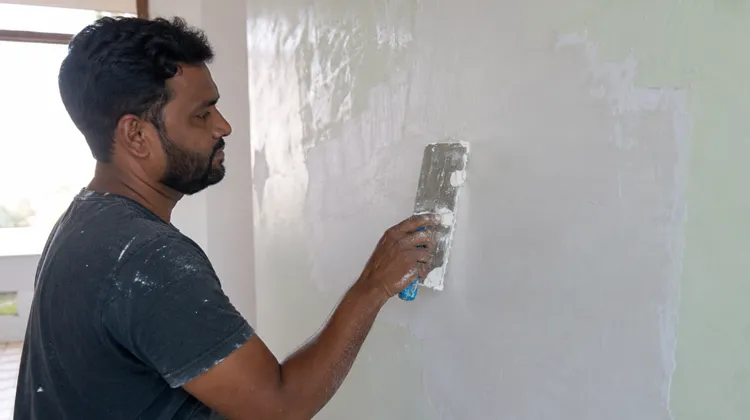
Mix the wall putty powder with clean water according to the manufacturer’s instructions.
The mixture should have a smooth and consistent texture without lumps. Proper mixing is important because uneven mixing can affect workability, adhesion, and the final surface quality.
For wall putty manufacturers, achieving consistent powder quality requires accurate raw material measurement and efficient mixing equipment. Professional wall putty production lines are designed to ensure stable production and uniform product performance.
Step 2: Apply the First Coat of Wall Putty
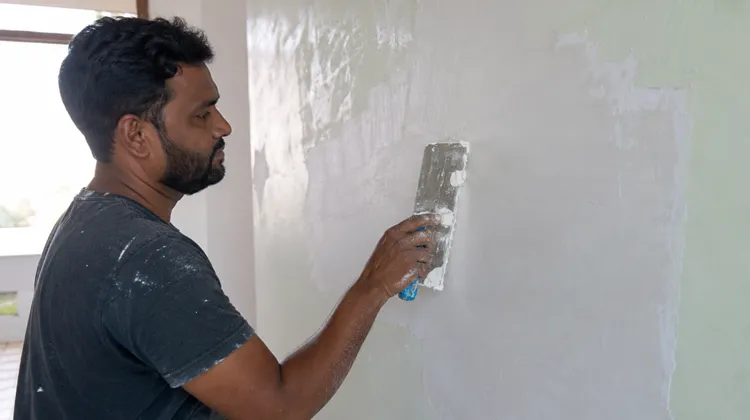
Use a putty knife or finishing trowel to apply the first coat evenly across the wall.
The first layer is mainly used to fill small cracks, holes, and uneven areas. Apply the putty gradually and avoid creating an excessively thick layer, as thick applications may increase drying time and cause cracking.
Step 3: Smooth and Level the Surface
After applying the first coat, use the putty knife to remove excess material and smooth uneven areas.
A properly leveled surface reduces the amount of sanding required later and helps achieve a better final finish.
Step 4: Allow the Putty to Dry Completely
The drying time depends on the product type, wall condition, temperature, and humidity.
Generally, each coat requires around 4-6 hours to dry. However, the next coat should only be applied after the previous layer is completely dry.
Step 5: Apply Additional Coats if Required
For walls that require a higher level of smoothness, a second or additional coat can be applied after drying and light sanding.
Multiple coats help achieve better leveling and a more professional wall finish, especially for surfaces with significant imperfections.
Step 6: Final Sanding and Surface Preparation
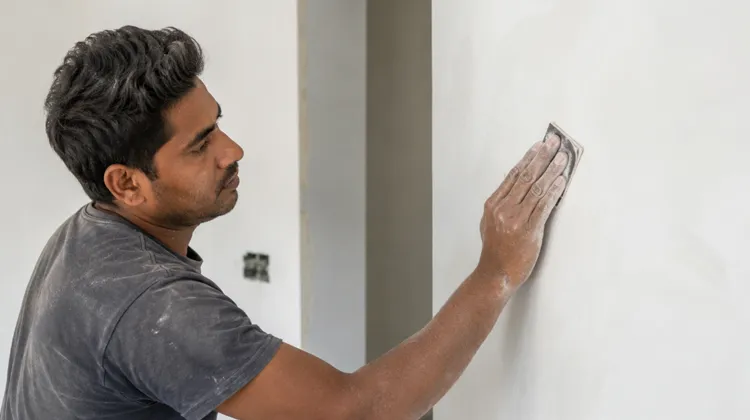
After the final coat has dried completely, use fine sandpaper to gently smooth the surface.
Remove all dust before applying primer and paint. A clean and smooth surface ensures better coating performance and a more attractive appearance.
Common Mistakes When Applying Wall Putty
Applying Putty Without Proper Surface Preparation
One of the most common mistakes is applying wall putty directly on dirty or unstable surfaces. Dust, grease, and loose paint can reduce adhesion and shorten the lifespan of the finish.
Applying Too Much Putty at Once
A thick layer of putty may appear to save time, but it can lead to uneven drying, cracks, and surface defects.
Applying several thinner layers usually provides better results.
Painting Before the Putty Is Fully Dry
The wall should not be painted immediately after putty application.
The putty must be completely dry, properly sanded, and cleaned before applying primer or decorative paint.
How Wall Putty Manufacturing Quality Affects Final Performance
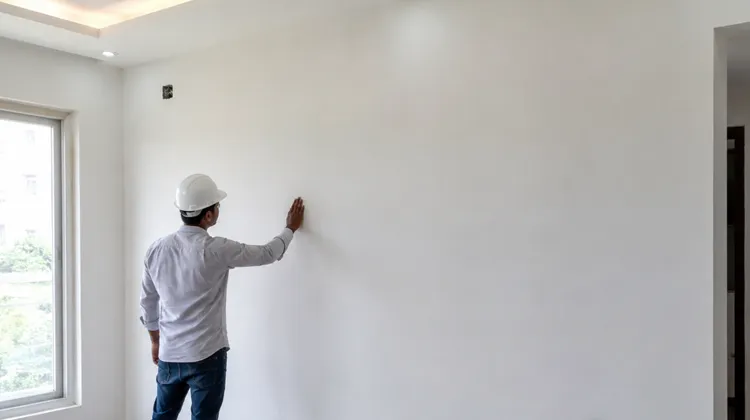
While proper application techniques are important, the quality of wall putty itself also determines the durability of the final wall finish.
High-quality wall putty requires accurate raw material formulation, uniform mixing, and stable production processes.
For manufacturers producing cement-based wall putty, professional equipment such as wall putty production lines and powder mixing systems helps achieve consistent quality, higher efficiency, and better production capacity.
Reliable manufacturing technology allows companies to provide construction materials that meet the increasing demand of global building projects.
Frequently Asked Questions About Wall Putty Application
Can wall putty be applied directly over painted walls?
Yes, wall putty can be applied over painted walls, but the surface must be properly prepared first. Loose paint, dust, grease, and damaged areas should be removed before application.
How many coats of wall putty should be applied?
Usually, one or two coats are enough for normal wall finishing. Additional coats may be required if the wall surface has deep uneven areas or requires a smoother finish.
How long does wall putty take to dry?
Most wall putty products require around 4-6 hours for each coat to dry. The actual drying time depends on temperature, humidity, and the type of wall surface.
Can I paint immediately after applying wall putty?
No. You should wait until the putty is completely dry, smooth the surface with sandpaper, and remove dust before applying primer and paint.
Can wall putty be used for exterior walls?
Yes, but exterior walls require specially designed exterior-grade wall putty with better resistance against moisture and weather conditions.
How do I choose the right wall putty?
The correct product depends on the wall material and application environment. Cement-based wall putty is commonly used for concrete and cement surfaces, while specialized products may be required for other applications.
Conclusão
Applying wall putty on a painted wall requires proper preparation, correct application methods, and sufficient drying time.
By cleaning the surface, removing damaged paint, applying suitable layers, and completing proper sanding, old painted walls can be transformed into smooth surfaces ready for painting.
For wall putty manufacturers, consistent product quality depends on reliable production technology and advanced manufacturing equipment. A professional wall putty production line helps companies improve efficiency and provide high-quality construction materials for global markets.


 Portuguese
  English
  Russian
  Arabic
  Vietnamese
  Spanish
  French
  Japanese
  Chinese